*all orders are backorders! please allow 2-4+ weeks for products to ship!

Get Dialed
Step-by-step guides to master your gear and shoot with confidence
How-To
Step-by-step guides for your gear upgrades.
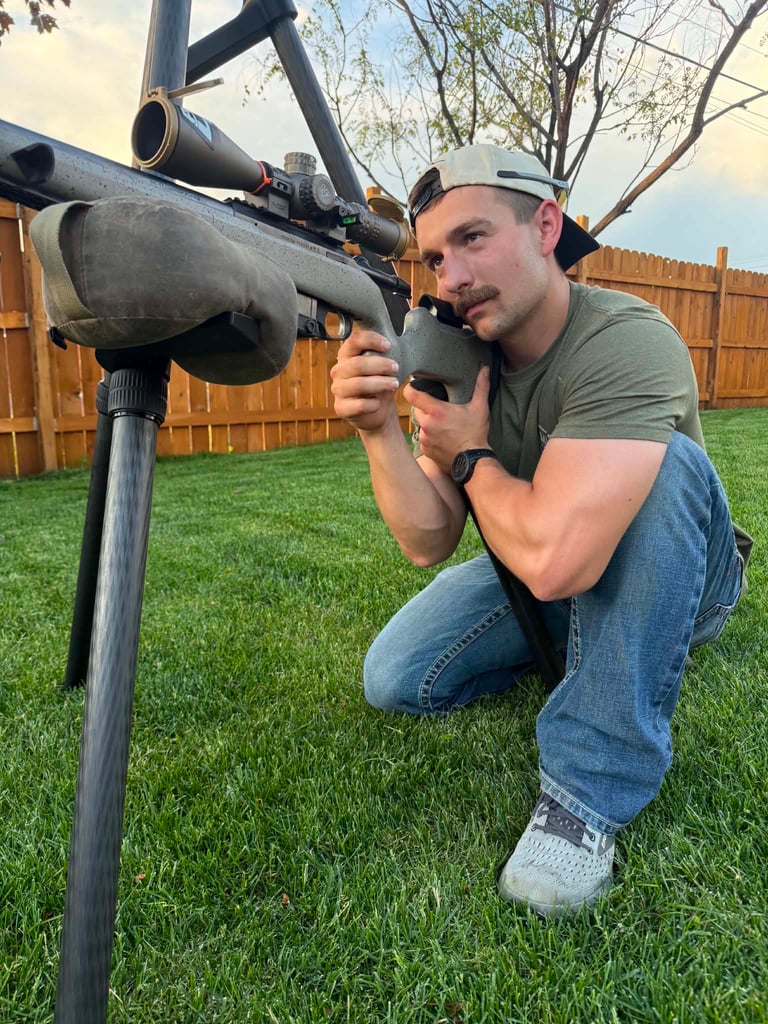
How-To Guide: Assemble Your Strong Hand™
Assemble your tripod for precision.
→
Strong Hand Install
This video provides step-by-step instructions for installing the Strong Hand.
Designed for a fast and hassle-free setup
installation typically takes less than one minute.

PRODUCT GUIDE
What section will my Strong Hand work best?
Four section (not inverted) tripods- The Strong Hand will install on the second to top (Second thickest) section of this tripod.
WHY? If you install the Strong Hand on the top section, the legs of the tripod do not splay far enough to use as a front and rear rest. The second thickest section is perfect for that reason
Three section (inverted) - For inverted three section tripod the Strong Hand will go on the middle section.
WHY? That will give you a low kneeling/sitting shot at the bottom of the tripod section and at the top of the section will give you a bent over standing shot depending on the length of tripod. (This is the best tripod for the Strong Hand)
Three section (not inverted) - This is user preference. If you want it on the middle section than you will get a normal strong Hand and if you want it on the top section, you must order the two piece (bolt on) Strong Hand.
WHY? Middle section will be on the bottom of tripod when stowed away, but you will be able to use the Strong Hand on the whole section. If you put the Strong Hand on the top section than only the bottom of the that section is usable due to the legs being too close together at the top which does not allow you to use as a front and rear rest.
Dialed in Designs
Explore our sleek website template for seamless navigation.
Contact
Newsletter
dialedindesignsnw@gmail.com
541-975-4083
© 2024. All rights reserved.